WAYS TO TIE MAMIANQUN
- Newhanfu_Redsugarx
- Mar 23, 2024
- 2 min read
Updated: Mar 27, 2024
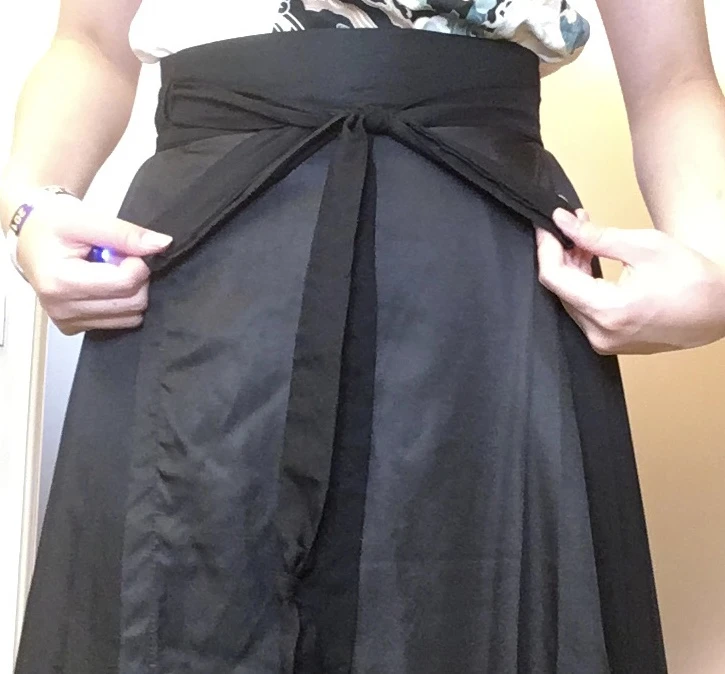
(01)Double-Eared

1. Wear your skirt as usual, ensuring that both ends of the ribbons are of similar length and will be used to secure around your waist.

2. Cross the ribbon ends, placing one (e.g., the left ribbon) over the other.

3. Pull the top ribbon upward and the bottom ribbon downward, interlocking them.

4. Pull each ribbon backward to lock them securely around each other, adjusting the tightness as needed.

5. With tension maintained, twist one ribbon back on itself 2-5 times for added security.

6. After twisting, loop it around itself once more, leaving a small open loop.

7. Take the free end of the ribbon and pass it through the open loop without pulling it completely through, creating an ear loop.

8. Tug on the side of the loop farthest from the ribbon's end to tighten the knot around the ear loop.

9. Repeat the process on the other side to ensure symmetry, adjusting the loops as desired for equal length.

(02)Free Ended

1. Follow steps 1-5 of the double-eared pattern for both sides, twisting each ribbon back on itself.

2. Proceed to create a hanging loop similar to the double-eared pattern.

3. Pull the free end of each ribbon entirely through its respective loop.

4. Tighten each knot by pulling on the ribbon ends.

5. Repeat the process on the other side, making adjustments as needed for symmetry.

6. Ensure that the ribbon ends are not dragging on the ground.
(03)Center Bow

1. Begin by tying a basic knot, similar to how you would tie a standard bow, ensuring that one of the ribbon tails is approximately six inches longer than the other.

2. Grasp the longer tail of the ribbon and pull it upward to form a loop around your finger.

3. Fold the free end of the ribbon back toward the center to create a second loop, securing both loops in place with a pinch. Allow the free end to hang down.

4. Next, take the shorter ribbon from the opposite side and wrap it around the center of the two loops. Tie a knot to secure them in place. Adjust the loops and tails according to your preference.
(04)Side Bow

1. Begin by preparing two ribbon tails as usual, but this time, ensure that one tail is approximately six inches longer than the other. Position them towards your hip on the same side as the shorter ribbon.

2. Proceed by tying a simple knot at this point. The tails should now be approximately the same length, although slight variations are acceptable as the asymmetry of this style lends itself to a natural appearance.

3. You have two options for tying the bow:
- If you prefer the loops to hang downward, tie a standard bow, similar to how you tie your shoelaces.
- Alternatively, you can opt for the center bow pattern for a design with more horizontal loops. If you choose this method, follow the steps outlined for the center bow pattern.

Sources: https://www.newhanfu.com/28710.html


Comments